 By
By House flipping has captured the imagination of countless aspiring real estate investors. The prospect of purchasing a neglected property, transforming it into a stunning home, and selling it for a substantial profit is undeniably appealing. However, the gap between reality and what is shown on popular television programs is massive. Successful house flipping is not a matter of luck or brief weekend projects; it is a highly calculated business requiring precise budgeting, strategic remodeling decisions, and a deep understanding of local market dynamics.
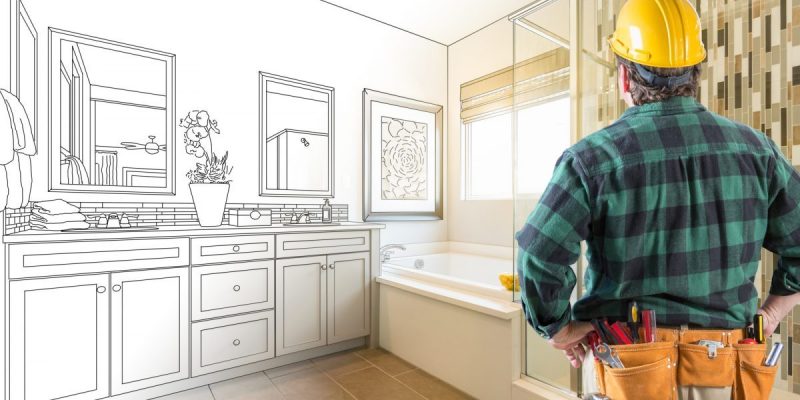
For beginners, the remodeling phase is typically where the most costly mistakes occur. Over-renovating a property, hiring unverified contractors, or misallocating capital into upgrades that do not yield a high return on investment can rapidly erase potential profit margins. To build long-term wealth through real estate, you must approach the renovation process with an analytical mind, focusing entirely on cost-effective upgrades that maximize retail appeal. This comprehensive guide outlines the vital components of a smart, strategic house flip from initial budgeting through final execution.
Establishing the Financial Foundation
Before looking at property listings or picking out paint swatches, you must master the fundamental mathematical formula of real estate investing: the seventy percent rule.
The Seventy Percent Rule Explained
The seventy percent rule is a core benchmark used by experienced investors to calculate the maximum allowable offer on a distressed property. The rule states that an investor should pay no more than seventy percent of the after-repair value of a home, minus the estimated cost of the renovations.
The after-repair value represents the realistic price the home can command on the open market once it has been fully updated. For example, if a home will be worth three hundred thousand dollars after renovations, and the estimated construction costs total fifty thousand dollars, the calculation is straightforward. Seventy percent of three hundred thousand dollars is two hundred ten thousand dollars. Subtracting the fifty thousand dollar renovation budget leaves a maximum allowable offer of one hundred sixty thousand dollars.
Sticking to this mathematical boundary provides a critical financial buffer. This buffer shields you from market fluctuations, unexpected structural surprises, and carrying costs like property taxes, insurance, and loan interest during the project lifecycle.
Prioritizing Remodeling Projects for Maximum Return
The most common trap for novice flippers is falling in love with the property and remodeling it to personal tastes rather than broad market standards. Every dollar spent must add more than a dollar of value to the final appraisal.
Kitchens and Bathrooms Drive Sales
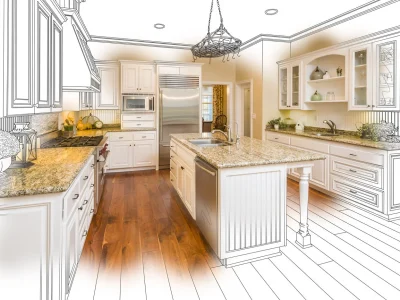
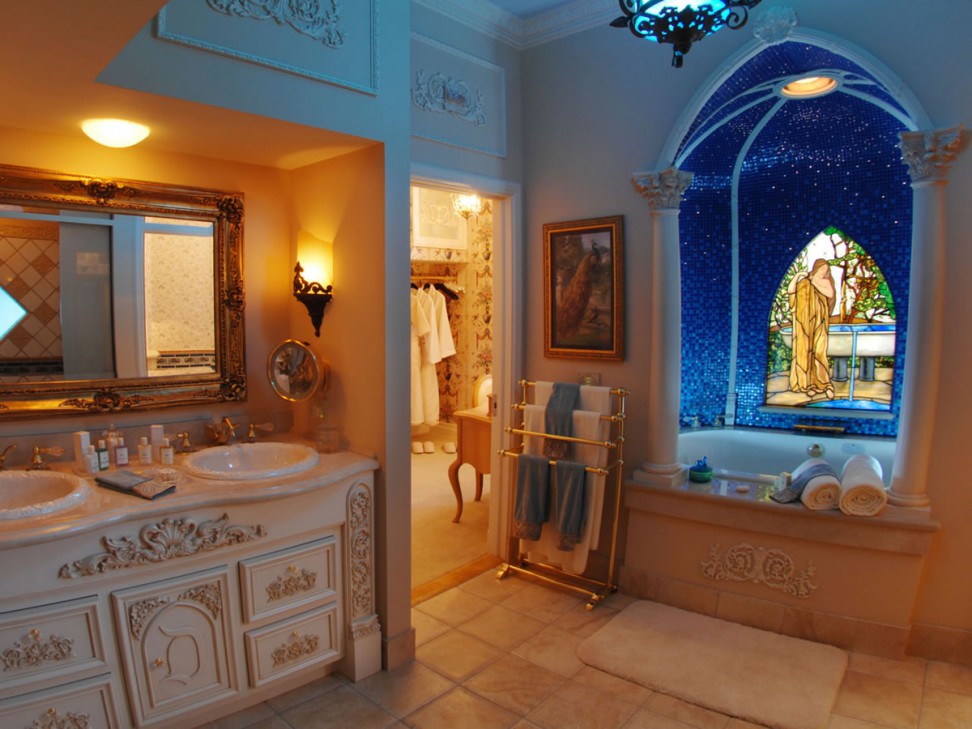
Kitchens and bathrooms are the undisputed focus points of residential real estate. Buyers pay the closest attention to these areas, and targeted updates here yield the highest returns.
-
Cabinetry: Completely replacing solid wood cabinets is expensive. If the existing cabinet boxes are structurally sound, consider painting them a neutral white or gray and installing modern matte black or brushed nickel hardware. If the doors are damaged, refacing them is a fraction of the cost of a full gut remodel.
-
Countertops: Avoid cheap laminate, but do not overspend on ultra-premium exotic marble. Quartz and durable granite are the industry standards for flipped homes, offering a premium look that fits neatly within mid-range budgets.
-
Backsplashes: A clean subway tile backsplash is affordable, timeless, and immediately elevates the visual quality of the entire kitchen.
High-Impact Cosmetic Upgrades
Never underestimate the power of superficial, cost-effective adjustments. These updates cost relatively little but dramatically shift a buyer’s first impression.
-
Fresh Paint: Paint is the most affordable tool in a flipper’s arsenal. Apply a cohesive, light neutral color palette throughout the entire interior to make spaces feel larger, brighter, and clean.
-
Modern Flooring: Replace worn, stained carpets with durable luxury vinyl plank flooring. Luxury vinyl plank is highly resistant to water, scratch-resistant, affordable, and mimics the appearance of natural hardwood, which appeals strongly to families and pet owners.
-
Lighting Fixtures: Outdated brass or dome lights make an otherwise clean home feel historic. Install modern, energy-efficient recessed lighting and contemporary pendant lights over kitchen islands to instantly modernize the space.
Managing the Renovation Timeline
Time is literally money when flipping houses. Every day you hold the property, you pay interest on your construction loans, utilities, property taxes, and insurance. A smart remodeling guide requires a strict, logical sequence of construction events to minimize delays.
Step-by-Step Execution Plan for Beginners
To complete a flip efficiently without structural or financial missteps, follow a structured workflow from demolition to market listing.