 By
By Installing a new air conditioning system is a big investment—and one that can have a major impact on your comfort, energy bills, and indoor air quality. Whether you’re replacing an outdated unit or setting up cooling for the first time, knowing what to expect during a professional AC installation can ease the stress and help you feel more prepared.
Here’s a step-by-step guide that walks you through the typical process, from the initial assessment to final testing.
Step 1: In-Home Consultation and System Assessment
Before the installation day, a licensed HVAC technician will typically visit your home to evaluate your space and determine your cooling needs. They’ll assess:
- The size and layout of your home
- The number of rooms and levels
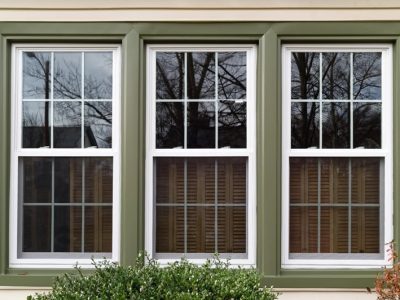
- Insulation and window placement
- Ductwork condition (if applicable)
- Your current unit’s performance (for replacements)
This step helps the technician recommend the most efficient and appropriately sized AC unit for your specific needs. Oversized or undersized units can lead to inconsistent temperatures and higher energy bills.
Step 2: Choosing the Right Equipment
Based on the assessment, you’ll be guided through equipment options. This includes choosing:
- The type of AC system (central, ductless mini-split, etc.)
- The SEER (Seasonal Energy Efficiency Ratio) rating
- Thermostat or smart control options
- Optional add-ons like air purifiers or dehumidifiers
Once everything is selected and agreed upon, the installation is scheduled.
Step 3: Preparing the Installation Area
On installation day, the technicians will first prepare your home for the work. This includes:
- Laying down floor coverings or drop cloths
- Moving furniture or obstructions near the work area
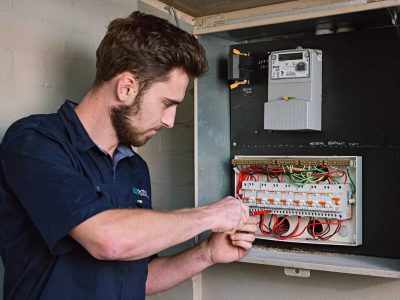
- Shutting off power to the existing HVAC system
This step ensures both your home and the new system are protected during the installation.
Step 4: Removal of the Old System (if applicable)
If you’re replacing an existing unit, the old equipment will be disconnected and removed. This usually includes:
- Taking out the old indoor unit (air handler or furnace)
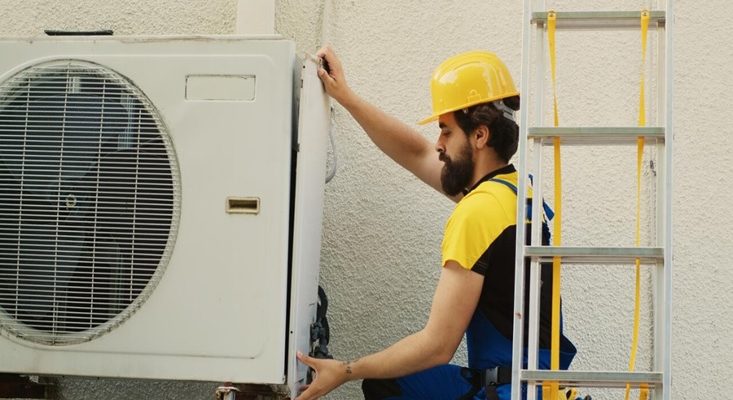
- Disconnecting and removing the outdoor condenser
- Detaching any associated electrical wiring and refrigerant lines
- Inspecting existing ductwork for leaks or damage
Proper disposal of the old unit is usually handled by the installation team.
Step 5: New System Installation
With the area prepped and old equipment removed, the technicians will install your new air conditioning system. This includes:
-
- Installing the indoor air handler or furnace
- Placing the outdoor condenser unit on a secure, level pad
- Running new refrigerant lines and electrical wiring
- Installing a drain line for condensation
- Sealing and insulating connections for energy efficiency
This part of the process requires precision and may take several hours depending on the complexity of the system.
Step 6: Thermostat and Control Setup
Once the system is in place, the technician will install or connect your new thermostat. If it’s a smart thermostat, they’ll guide you through setup and how to use features like remote control, scheduling, or integration with your home automation system.
Step 7: System Testing and Final Checks
Before wrapping up, the technician will thoroughly test the system to ensure it’s working as intended. This includes:
- Checking refrigerant levels
- Testing airflow and temperature output
- Inspecting all electrical connections
- Ensuring the thermostat communicates with the system
- Confirming that all safety protocols are met
They may also walk you through how to change filters, adjust settings, and schedule future maintenance.
Step 8: Cleanup and Walkthrough
Once everything is up and running, the crew will clean up the workspace and remove all tools and debris. The lead technician will typically do a final walkthrough, answer any questions you may have, and go over warranty details and routine maintenance tips.
Final Thoughts
A professional AC installation isn’t just about plugging in a new unit—it’s a carefully coordinated process that ensures your system runs efficiently, safely, and effectively. By understanding what each step involves, you’ll feel more confident and ready to enjoy a cool, comfortable home for years to come.
This post was written by a professional at DC / AC Air Conditioning & Heating. As one of the trusted HVAC Service Orange County FL, DC / AC Air and Heat is a family- and veteran-owned AC repair company serving Orlando and Central Florida for over 25 years. BBB A+ rated and fully licensed (#CAC1814693), we provide honest, reliable residential and commercial AC repair, plus refrigeration services. We service all brands and go the extra mile to keep your air ICE COLD. Trust our experienced team for fast, top-rated AC solutions across Orlando.